A single missed malt delivery can push your entire brew schedule back a week. Multiply that by a few vendors, a handful of seasonal releases, and the normal chaos of running a brewery, and you've got a recipe for lost revenue and frustrated staff. The good news? A well-designed purchase order workflow turns procurement from a source of anxiety into one of your most reliable operations.
Whether you're sourcing hops from a single farm or juggling dozens of suppliers across grain, yeast, adjuncts, and packaging materials, the principles of a solid PO workflow stay the same: pick the right vendors, create clear orders, track deliveries, and reconcile what you received against what you paid for. According to the Brewers Association, craft breweries contribute over $72.5 billion to the U.S. economy. That kind of market weight demands procurement processes that can scale with growth, not crumble under it.
This guide walks through every phase of a brewery purchase order workflow, from choosing vendors to closing out a received order. If you're ready to centralize vendor management, purchase orders, and inventory tracking in one place, BrewPlanner gives you the tools to do exactly that.
Let's get into it.
Vendor Selection and Relationship Management
Before you can write a purchase order, you need to know who you're buying from and why. Vendor selection is the foundation of your entire procurement workflow, and it deserves more attention than most breweries give it.
Define What You Actually Need
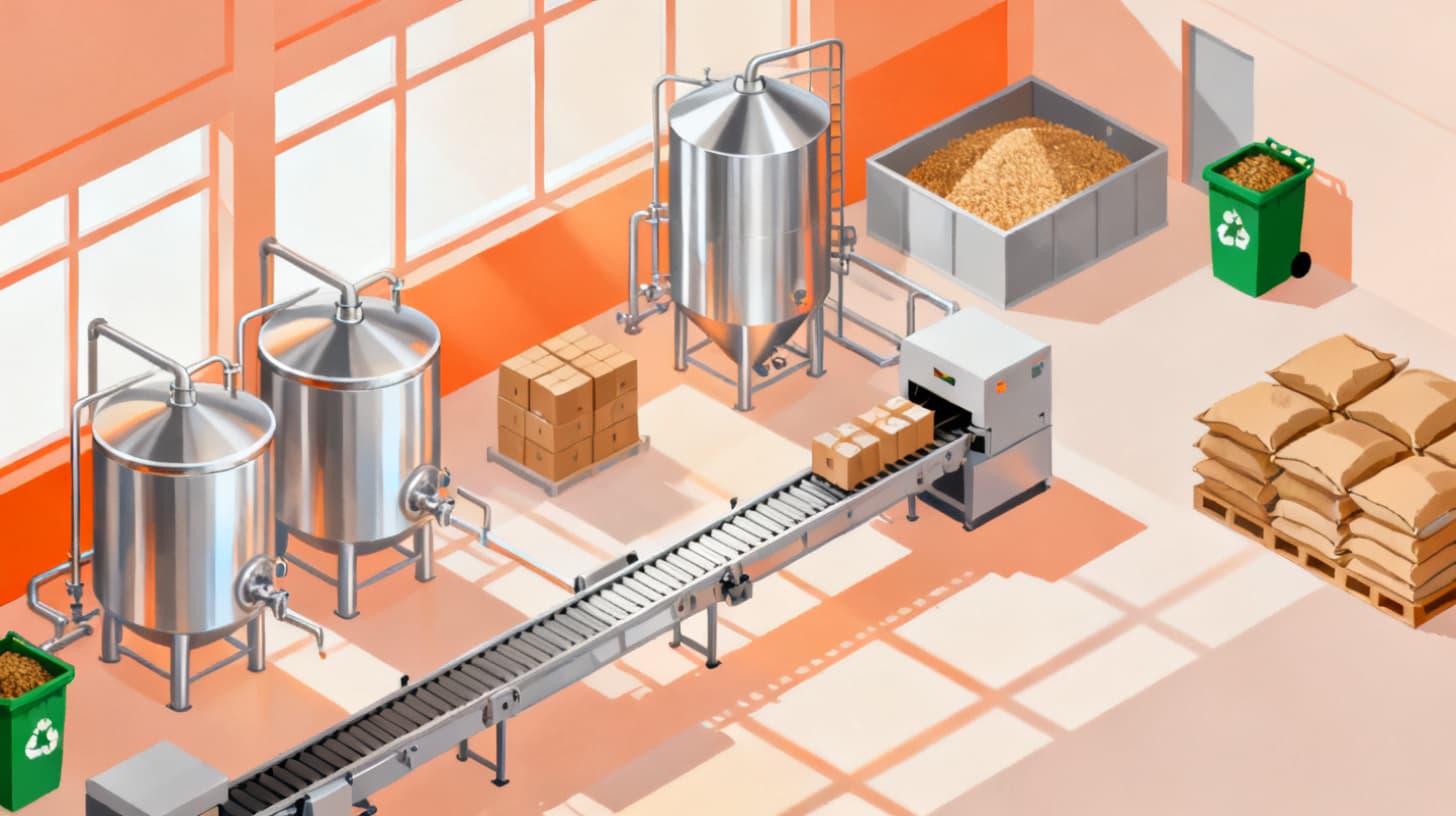
Start by listing every raw material and supply your brewery uses on a recurring basis. This includes base malts, specialty grains, hop varieties, yeast strains, water treatment chemicals, fining agents, CO2, packaging materials like cans, bottles, labels, crowns, and even cleaning supplies. Group these items into categories so you can evaluate vendors by specialty rather than trying to find one supplier that does everything.
For each category, note your typical order frequency, average quantity per order, and any quality specifications that matter. A brewery producing 5,000 barrels a year has very different supply needs than one producing 500, and your vendor relationships should reflect that.
Evaluate Vendors on More Than Price
Price matters, but it's rarely the most important factor for a brewery. Here's a practical evaluation framework:
- Reliability: Do they deliver on time, consistently? A vendor who's 10% cheaper but misses delivery windows twice a quarter costs you more in the long run.
- Quality consistency: Can they provide certificates of analysis (COA) for every lot? For hops especially, alpha acid percentages and harvest dates directly affect your recipes.
- Minimum order quantities (MOQ): Some suppliers require large minimums that don't match your production scale. Make sure MOQs align with your storage capacity and cash flow.
- Lead times: Know the difference between a vendor who ships in 3 days and one who needs 3 weeks. This directly impacts when you need to place orders.
- Communication: How responsive are they when issues arise? A vendor who takes a week to answer emails about a shorted delivery is a liability.
- Payment terms: Net 30 is standard, but some vendors offer early payment discounts (2/10 net 30, for example) that can meaningfully reduce costs over a year.
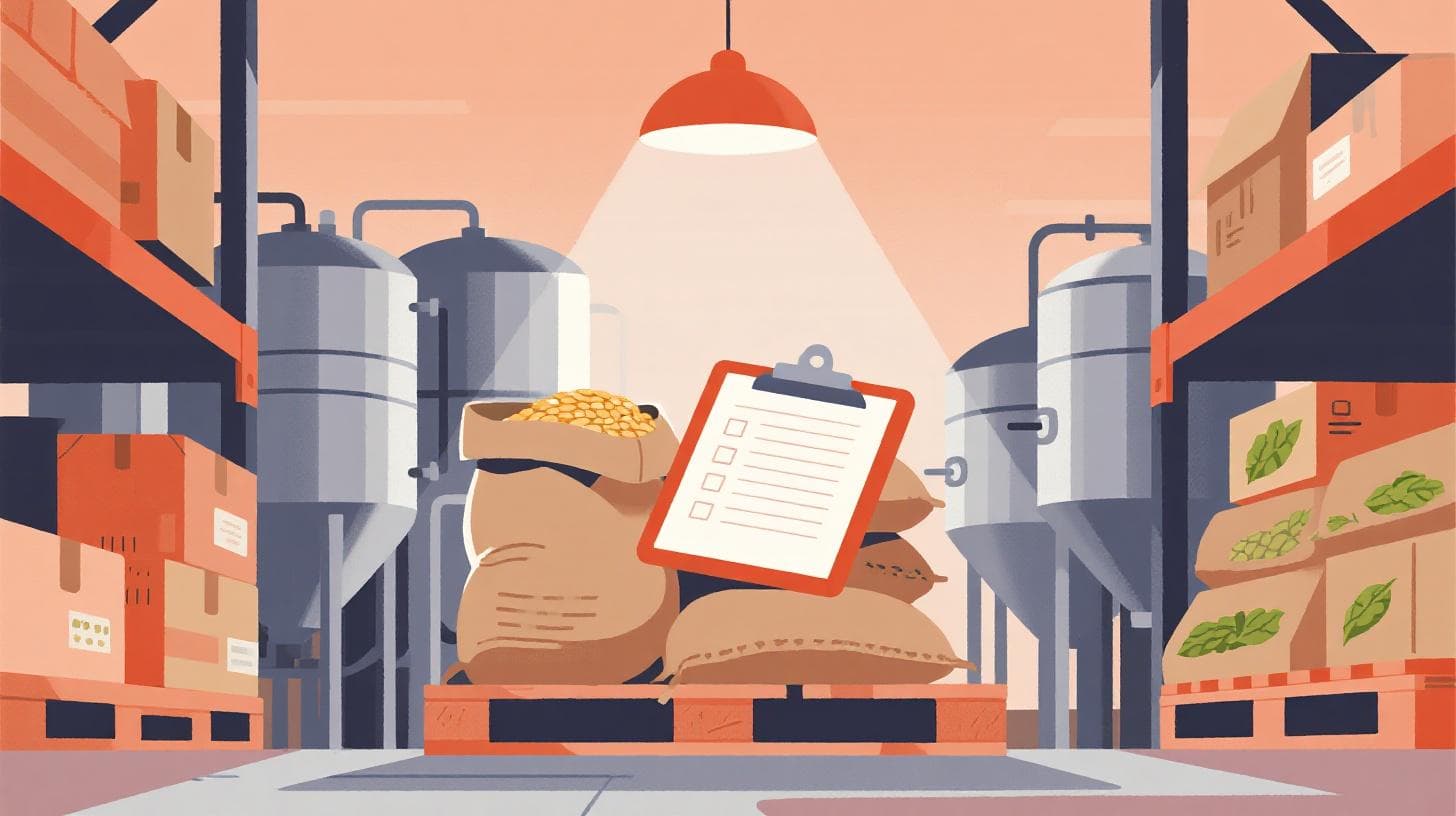
Build a Vendor Database
Once you've selected your vendors, centralize their information in one place. For each vendor, record:
- Primary and backup contact names, emails, and phone numbers
- Physical address and shipping origin
- The specific items they supply, with agreed pricing
- Payment terms and preferred payment method
- Lead time expectations by item category
- Any negotiated contracts or volume discount thresholds
This isn't just administrative busywork. When your head brewer needs to reorder a specialty malt and you're not in the building, anyone on the team should be able to look up the vendor, see the agreed price, and place the order correctly. A platform like BrewPlanner lets you manage vendor contacts, addresses, item catalogs, and purchase order history all within the same system you use for scheduling and inventory.
Maintain Backup Suppliers
Single-source dependency is a real risk. For your most critical ingredients, especially base malt and primary hop varieties, identify at least one backup vendor. You don't need to order from them regularly, but having a relationship in place means you're not scrambling when your primary supplier has a crop failure or a logistics disruption.
Document backup vendors in the same database, flagged clearly so your team knows when and why to use them.
Creating and Managing Purchase Orders
With vendors selected and cataloged, the next step is building a repeatable process for creating purchase orders that are accurate, trackable, and tied to your actual production needs.
Connect POs to Your Production Schedule
The best purchase orders don't start with a vendor catalog. They start with your brew schedule. Look at what's coming up on your production calendar, check your current inventory levels, and determine what you need to order and when it needs to arrive.
Here's a practical example. Say you have a pale ale batch scheduled for two weeks from now. Your recipe calls for 800 lbs of 2-row, 60 lbs of Crystal 40, 15 lbs of Cascade hops, and a pitch of your house yeast. You check inventory and find you have 400 lbs of 2-row, plenty of Crystal 40, 8 lbs of Cascade, and enough yeast. You need to order 400 lbs of 2-row and 7 lbs of Cascade, accounting for your vendor's lead time.
This production-driven approach prevents two common problems: ordering too much (tying up cash and storage space) and ordering too little (delaying production).
Structure Your PO Document
Every purchase order should contain these elements:
- PO number: A unique identifier for tracking. Use a consistent numbering scheme like PO-2024-001, PO-2024-002, and so on.
- Vendor name and contact information
- Ship-to address: Your brewery's receiving location.
- Line items: Each item ordered, with quantity, unit of measure, agreed unit price, and extended price.
- Requested delivery date: Based on your production schedule and the vendor's stated lead time.
- Payment terms: Restating the agreed terms on every PO avoids confusion.
- Special instructions: Anything the vendor needs to know, such as delivery dock hours, temperature requirements for yeast shipments, or lot number requests for traceability.
Track PO States Through Their Lifecycle
A purchase order isn't just a document you send and forget. It moves through distinct states, and tracking those states is how you prevent things from falling through the cracks.
- 1Pending: The PO has been created but not yet sent to the vendor. This is your review stage. Double-check quantities, pricing, and delivery dates before sending.
- 2Ordered: The PO has been sent to the vendor and confirmed. At this point, you're waiting for delivery.
- 3Received: The shipment has arrived and been checked in. More on this in the next section.
- 4Late: The delivery date has passed without receipt. This triggers follow-up with the vendor.
Tracking these states gives you visibility into your entire procurement pipeline at any moment. You can see at a glance how many orders are outstanding, which ones are approaching their due dates, and which vendors are consistently late.
Set Reorder Points and Par Levels
For high-usage items, establish reorder points, the inventory level at which you create a new purchase order. A simple formula:
Reorder point = (Average daily usage × Lead time in days) + Safety stock
If you use 100 lbs of 2-row per day, your vendor has a 7-day lead time, and you want 3 days of safety stock, your reorder point is 1,000 lbs. When your 2-row inventory hits that number, it's time to place an order.
Par levels (your target maximum inventory) prevent over-ordering. Between the reorder point and the par level, you have a clear window for when and how much to order.
Receiving, Inspection, and Inventory Updates
The moment a delivery truck backs up to your dock is where many brewery procurement processes break down. Without a structured receiving process, you risk accepting shorted orders, damaged goods, or the wrong items entirely, and not discovering the problem until brew day.
Create a Receiving Checklist
Every delivery should follow the same inspection routine, regardless of vendor or order size. Train anyone who might receive shipments to follow these steps:
- Verify the delivery matches the PO number on the packing slip
- Count every line item and compare quantities to the PO
- Check item descriptions and lot numbers against what was ordered
- Inspect packaging for damage (torn bags, dented cans, broken pallets)
- For temperature-sensitive items like liquid yeast, verify cold chain integrity
- Note any discrepancies immediately on the packing slip before signing
- Photograph damaged items as documentation for vendor claims
This takes an extra 10 to 15 minutes per delivery. That small time investment saves hours of back-and-forth later when you're trying to resolve a discrepancy without documentation.
Handle Partial Deliveries and Discrepancies
Not every delivery will be perfect. You'll encounter partial shipments, substitutions, damaged goods, and pricing discrepancies. Have a clear process for each:
Partial shipments: Mark the PO as partially received. Note which line items arrived and which are still outstanding. Follow up with the vendor immediately to confirm when the remaining items will ship. Don't assume they know something is missing.
Substitutions: If a vendor substitutes an item (a different hop variety or malt brand, for instance), don't accept it without checking with your brewer first. Substitutions can affect your recipe and final product quality.
Damaged goods: Refuse damaged items at the dock when possible, or accept them under protest with photographic documentation. File a claim with the vendor within 24 hours. The longer you wait, the harder it is to resolve.
Pricing discrepancies: If the invoice price doesn't match your PO, flag it immediately. Your PO is a binding document. You shouldn't pay more than the agreed price without explicit authorization.
Update Inventory in Real Time
As soon as a delivery is verified and accepted, update your inventory records. This step is non-negotiable. If there's a gap between receiving goods and recording them, your inventory counts will be wrong, which means your reorder points won't trigger correctly, your cost calculations will be off, and your production planning will be based on inaccurate data.
For each received item, record:
- The quantity received (which may differ from the quantity ordered)
- The storage location where it was placed
- The lot number for traceability
- The actual cost (for accurate cost-of-goods-sold calculations)
When your receiving process feeds directly into your inventory system, you eliminate the manual re-entry that causes errors. This is one of the biggest advantages of using an integrated platform where vendor management, purchase orders, and inventory all live in the same place, which is exactly what BrewPlanner was designed to do. You can learn more about how the platform was built by brewers who lived these exact pain points.
Reconciliation, Reporting, and Continuous Improvement
Receiving the goods isn't the end of the workflow. Reconciliation is where you close the loop, matching what was ordered against what was received against what was invoiced. This final phase protects your margins and gives you data to make better purchasing decisions over time.
Three-Way Matching
The gold standard of procurement reconciliation is three-way matching, comparing three documents for every transaction:
DocumentPurposeKey Data PointsPurchase OrderWhat you orderedItems, quantities, agreed pricesReceiving ReportWhat you gotItems, quantities received, conditionVendor InvoiceWhat you're being chargedItems, quantities billed, prices
All three should agree. When they don't, you've found a discrepancy that needs resolution before payment. Common mismatches include:
- Invoice for 10 cases when you only received 8
- Unit price on the invoice is higher than the PO price
- Items on the invoice that weren't on your PO at all
- Freight charges that weren't part of the agreed terms
Three-way matching sounds tedious, but it directly protects your bottom line. Even small, frequent billing errors add up. A $5 overcharge on a weekly grain order is $260 over a year, and that's just one vendor.
Track Vendor Performance
Every completed purchase order is a data point. Over time, you can build a clear picture of each vendor's performance by tracking:
- On-time delivery rate: What percentage of orders arrive by the requested date?
- Order accuracy: How often do quantities and items match the PO?
- Quality issues: How frequently do you reject items or file claims?
- Price stability: How often do they change prices, and by how much?
- Responsiveness: How quickly do they resolve issues?
Review these metrics quarterly with your team. If a vendor's on-time rate drops below 90%, it's time for a conversation. If it stays below 80%, it's time for a new vendor.
Use Procurement Data for Smarter Decisions
Your purchase order history is a goldmine of business intelligence. With enough data, you can:
- Negotiate volume discounts by showing vendors your annual spend and committing to consistent ordering.
- Identify seasonal price patterns and time larger purchases when prices are lower.
- Optimize order frequency by analyzing whether fewer, larger orders save on shipping versus more frequent, smaller orders that reduce storage needs.
- Calculate true ingredient costs per batch by combining PO data with production records.
- Forecast cash flow by projecting upcoming procurement spend based on your production schedule.
For a deeper dive into structuring your procurement process, check out this guide on how to manage purchase orders and vendors as a growing brewery.
Build the Habit
The most sophisticated workflow in the world fails if your team doesn't follow it. Make procurement processes part of your standard operating procedures. Train every team member who touches ordering or receiving. Review the workflow every quarter and adjust based on what's working and what's not.
Start simple. You don't need perfection on day one. You need consistency. A basic PO process that your team follows every time will outperform an elaborate system that only gets used when someone remembers.
If you're ready to stop chasing spreadsheets and start running procurement like a real production operation, give BrewPlanner a try. It brings your vendors, purchase orders, inventory, and production schedule into one platform so nothing falls through the cracks.