A brewery owner once told me she was ready to drop $180,000 on two new fermenters. Her production schedule was packed, lead times were stretching, and she couldn't keep up with demand. But when we actually measured her tank utilization, something surprising emerged: her existing tanks were sitting empty nearly 30% of the time. She didn't need new equipment. She needed a better system for tracking and scheduling what she already had.
This story plays out at breweries of all sizes. The instinct to buy more tanks when throughput stalls is understandable, but it's often the most expensive solution to a problem that better measurement and scheduling can solve for free. Tank utilization, the percentage of time your tanks are actively doing productive work, is one of the most powerful levers you can pull to increase output without increasing capital expenditure.
Let's break down exactly how to measure tank utilization, identify where you're losing time, and make targeted improvements that boost throughput using the equipment already on your floor.
Understanding Tank Utilization and Why Most Breweries Measure It Wrong
Tank utilization sounds straightforward: how much of the time are your tanks in use? But the way most breweries track this metric is either too simplistic or completely informal, which leads to blind spots that cost real money.
The most common mistake is equating "tank is full" with "tank is being utilized." A fermenter holding beer that finished fermenting three days ago isn't being utilized. It's being used as expensive storage. True utilization measures productive time, the hours or days a tank spends doing the specific job it was designed for during each phase of production.
To calculate tank utilization properly, you need to define three numbers for each tank:
- Productive time: The total hours the tank is actively involved in a brewing process (fermenting, conditioning, carbonating, or holding beer that's waiting on a specific, scheduled next step)
- Turnaround time: The hours spent on cleaning, sanitizing, inspecting, and preparing the tank for its next batch
- Idle time: The hours the tank sits empty and available but unused, or holds beer past its scheduled transfer date
The formula is simple:
Tank Utilization Rate = (Productive Time) ÷ (Total Available Time) × 100
If a fermenter is available 720 hours in a 30-day period and spends 504 hours actively fermenting batches, your utilization rate is 70%. That remaining 30% splits between turnaround time (unavoidable but reducible) and idle time (the real target for improvement).
Benchmarks That Actually Matter
Most well-run craft breweries operate fermenters at 75-85% utilization. World-class operations push above 85%, but hitting 90%+ consistently requires extremely tight scheduling and minimal variability in fermentation times. If you're below 70%, there's almost certainly significant throughput hiding in your current footprint.
Brite tanks typically run lower utilization rates (60-75%) because their cycle times are shorter and they depend on downstream packaging schedules. Brewhouse utilization is a different calculation entirely, measured in brew days per week and turns per day rather than continuous occupancy.
The key insight is that you need to track these numbers per tank over rolling periods, not just as a brewery-wide average. Averages hide problems. You might have two fermenters running at 90% while a third sits at 40% because it's an odd size that doesn't match your standard batch volumes. Per-tank visibility is what drives real improvement.
Tracking this manually on whiteboards or spreadsheets breaks down quickly. Every time someone forgets to log a transfer date or a CIP cycle, your data becomes unreliable. Production scheduling software like BrewPlanner captures tank assignments, transfer dates, and phase durations automatically as part of your normal scheduling workflow, giving you accurate utilization data without extra effort.
Finding the Hidden Throughput Killers in Your Tank Schedule
Once you're measuring utilization correctly, patterns emerge. The gaps in your schedule tell a story, and learning to read that story is where the real operational gains live.
There are five common throughput killers that show up in almost every brewery's tank schedule. Each one looks small in isolation but compounds into significant lost capacity over a month or a quarter.
Killer 1: Extended Fermentation Dwell Time
This is the biggest offender. Beer finishes fermenting on Tuesday, but it doesn't get transferred until Friday because the brewer was busy, the brite tank wasn't ready, or nobody was tracking the timeline closely enough. Three days of idle occupancy on a fermenter might not seem like much, but multiply it by 10-15 batches a month and you've lost a full tank's worth of capacity.
The fix: establish target fermentation windows for each beer style and build your schedule around transfer dates, not just brew dates. When you configure beer styles with expected timelines for each phase, your scheduling tool should flag batches that are sitting past their expected transfer date. This turns a passive problem into an active alert.
Killer 2: Mismatched Tank Sizes and Batch Volumes
If you have a 30-barrel fermenter but your standard batch is 15 barrels, that tank is either running half-full (wasting capacity) or requiring double brews (consuming brewhouse time). Mismatched tanks create scheduling puzzles that often result in the odd tank sitting idle because it's hard to fit into the rotation.
The fix: map every tank's working volume against your actual batch sizes. Consider whether certain tanks should be dedicated to specific products. A 30-barrel tank might be perfect for your flagship IPA that you brew in double batches, while your seasonal sours fit the 15-barrel tanks. This kind of tank-to-product mapping, tracked through your production schedule, reduces idle time significantly.
Killer 3: CIP and Turnaround Bottlenecks
Cleaning takes time, but how much time varies wildly based on your process. Some breweries spend 2-3 hours on a tank turnaround. Others take a full day because the CIP system is shared, chemicals need to be mixed, or the person responsible for cleaning is also responsible for packaging.
The fix: standardize your CIP process with documented steps and time targets. Track actual turnaround times per tank to identify where delays occur. If your single CIP system creates a bottleneck when multiple tanks need cleaning on the same day, schedule your transfers to stagger across the week rather than clustering them.
Killer 4: Unplanned Schedule Gaps
Every time a tank becomes empty and the next brew isn't planned for two or three days, you lose productive time. These gaps are often invisible because they're spread across different tanks at different times. Nobody notices that Tank 3 sat empty for four days last week because it was quietly refilled on Monday.
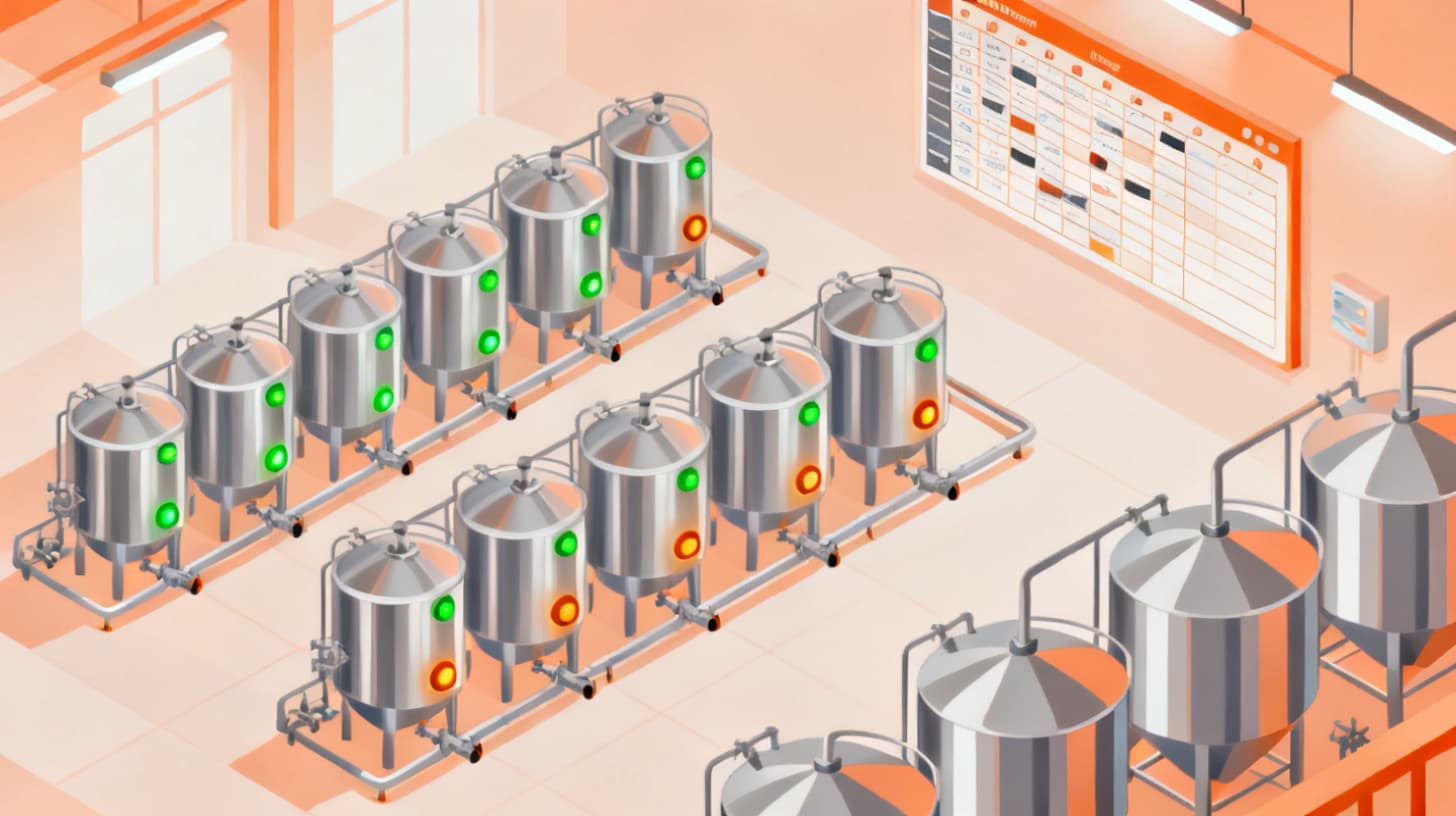
The fix: plan your brew schedule at least 4-6 weeks out, working backward from tank availability. When you can see your entire tank farm on a visual scheduling grid, gaps become obvious before they happen. You can pull a brew forward by a day or shift a batch to a different tank to eliminate dead time.
Killer 5: No Visibility Into Downstream Constraints
Fermenters back up because brite tanks aren't available. Brite tanks back up because packaging isn't scheduled. Each phase of production creates a constraint for the phase before it, and without visibility across all three stages, you end up with cascading delays.
The fix: schedule all three phases (brewhouse, fermenter, brite) together as a connected pipeline. When your scheduling tool tracks tank assignments across brewhouse, fermenter, and brite tank phases on a single visual grid, you can spot downstream conflicts before they cause upstream delays.
A Step-by-Step Framework for Improving Utilization
Knowing the problems is one thing. Fixing them systematically is another. Here's a practical framework you can implement over 30-60 days to make measurable improvements in tank utilization.
Step 1: Baseline Your Current State
Before you change anything, measure where you are. For each tank in your brewery, track these data points over a full month:
- Total days occupied (beer in tank)
- Total days in productive fermentation or conditioning
- Total days holding finished beer awaiting transfer
- Total days empty between batches
- Number of batches run through each tank
Organize this into a simple table:
TankTypeCapacityBatches/MonthProductive DaysIdle DaysUtilization %FV1Fermenter20 bbl321970%FV2Fermenter20 bbl2161453%FV3Fermenter30 bbl324680%BT1Brite20 bbl5151550%
This baseline tells you exactly where capacity is hiding. In the example above, FV2 and BT1 are the clear improvement targets.
Step 2: Set Style-Specific Tank Time Targets
Every beer style should have a documented target timeline:
- American IPA: 14 days fermentation, 3 days brite, 1 day turnaround = 18-day cycle
- German Lager: 28 days fermentation, 5 days brite, 1 day turnaround = 34-day cycle
- Session Ale: 10 days fermentation, 2 days brite, 1 day turnaround = 13-day cycle
These targets become the building blocks of your schedule. When you assign a batch to a tank, you're committing to a specific window. This removes ambiguity about when transfers should happen and makes delays visible immediately.
Step 3: Build a Rolling 6-Week Schedule
Using your baseline data and style timelines, map out six weeks of production on your tank farm. For each tank, plot:
- 1When the current batch finishes
- 2When the turnaround happens
- 3When the next batch goes in
- 4When that batch finishes
Look for gaps. If FV2 finishes a batch on day 10 but the next brew isn't until day 14, that's four days of idle time. Can you move the next brew up? Can you rearrange which tank gets which batch to eliminate the gap?
This is where visual scheduling becomes invaluable. Trying to optimize tank assignments in a spreadsheet is tedious and error-prone. A drag-and-drop scheduling grid where you can move batches between tanks and see the ripple effects instantly makes this process collaborative and fast.
Step 4: Implement a Transfer Accountability System
The single highest-impact change most breweries can make is enforcing on-time transfers. Create a daily checklist that includes:
- Check fermentation status on all active tanks
- Confirm transfer dates for any batch completing today or tomorrow
- Verify downstream tank (brite or packaging) is available for scheduled transfers
- Log actual transfer date against planned transfer date
Tracking the variance between planned and actual transfer dates over time gives you a clear metric for schedule adherence. If your average batch runs 2.5 days past its planned transfer, that tells you exactly how much utilization you're losing to drift.
Step 5: Review and Adjust Monthly
At the end of each month, recalculate your utilization per tank and compare against your baseline. Look for:
- Which tanks improved and why
- Which tanks stayed flat or got worse
- Whether your style timelines are realistic or need adjustment
- Whether turnaround times are hitting targets
Small, consistent improvements compound. Moving from 65% to 75% utilization across your fermenter fleet is equivalent to adding roughly one extra batch per tank per month. For a brewery with six fermenters, that could mean six additional batches, potentially tens of thousands of dollars in additional revenue from equipment you already own.
Turning Utilization Data Into Business Decisions
Better tank utilization doesn't just mean more beer. It changes the economics of your entire operation.
When you know your true utilization rates, you can make smarter decisions about which beers to brew. A lager that ties up a fermenter for 34 days produces far less revenue per tank-day than a session ale with a 13-day cycle. This doesn't mean you should stop brewing lagers, but it does mean you should factor tank occupancy cost into your COGS calculations to understand the true margin of each product.
You can also use utilization data to justify (or avoid) capital expenditures with real numbers. Instead of saying "we feel like we need more tanks," you can show your investors or lender that your current fleet runs at 82% utilization, turnaround times are optimized, and additional capacity is genuinely needed to meet demand. Or you can show that you're at 60% and need operational improvements before hardware.
This data also helps you evaluate whether to add a second brew day, hire additional cellar staff, or invest in a faster CIP system. Every operational decision becomes clearer when you understand exactly where time is being spent and where it's being wasted across your tank farm.
The breweries that grow most efficiently aren't necessarily the ones with the most tanks. They're the ones that get the most out of every tank they have. Start measuring utilization this week, and you'll likely find throughput capacity you didn't know existed.
Ready to get full visibility into your tank schedule? Start planning your production with BrewPlanner and see exactly where your hidden capacity lives.